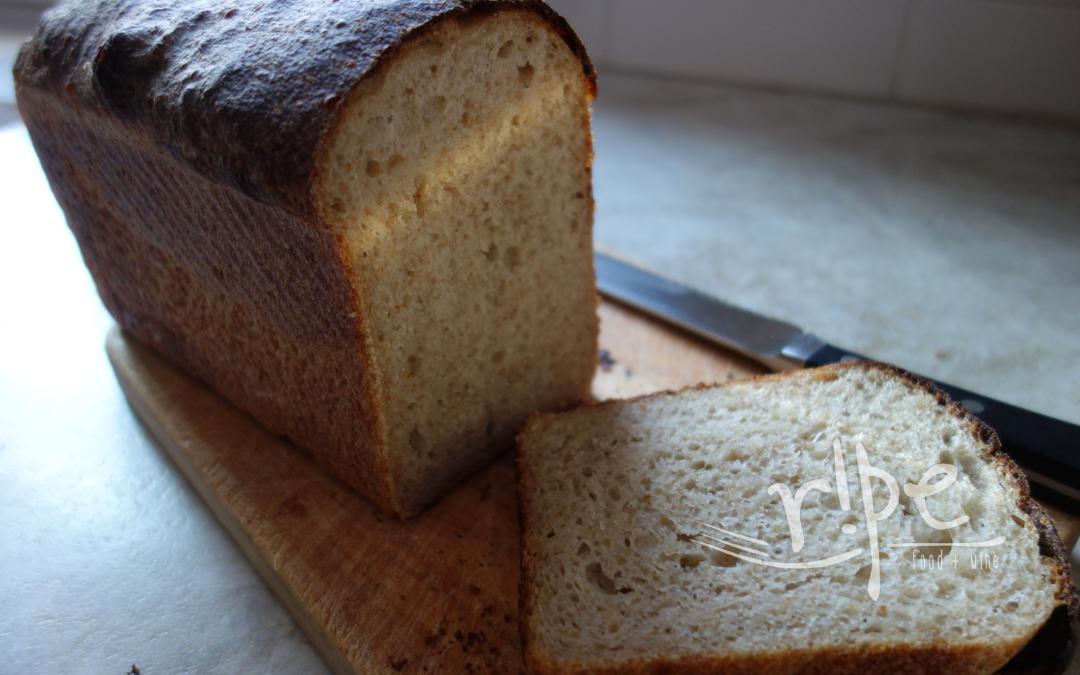
Sourdough bread baking can be simpler than you think. I’ve learned a lot from this basic loaf over the past few years. Maurizio Leo got me started, and inspired me to keep tending my starter, which is now 50/50 whole rye and wheat. I used to keep two—one 100% rye, the other 50/50—but two almost pushed me over the edge. One is enough and works its wonders enough to justify its upkeep.
So, this is my simplified recipe for a sourdough loaf that you can start and finish within a day if you have a 100% hydrated starter. I keep my starter between 200 and 300 grams so that I always have enough ready to make something without a levain build. I share more details of my starter in this post from a few years ago, Sourdough Bread for Toast. Cheers to some learning and good cinnamon toast!
Sourdough Pullman Loaf
makes one Pullman loaf, 9x4-inches
Ingredients
- 475 grams all purpose flour Wheat Montana blue bag, 11% protein
- 50 grams whole wheat flour Conservation Grains, Wheatsome
- 4 grams barley malt powder (optional, don't let this ingredient stop your baking, but it does help with crust color) Anthony's diastatic works well
- 325 grams water
- 200 grams 100% hydrated starter mine is 50/50 rye and wheat, fed night before and kept room temperature
- 11 grams Kosher salt
- 100 grams water
Instructions
2 Hour Autolyse
-
Mix together the flours, barley malt, and water, cover bowl and let sit for 2 hours. (I do this first thing after I get my coffee in the morning and it can sit for longer than 2 hours if you need that grace period.)
Mixing
-
To the autolysed dough, add the starter, salt, and additional 100 grams water. Mix with a dough hook on a stand mixer for 10 minutes. At first it will look "too wet" but trust the process. As the dough hook works (turn the speed to medium-high, but watch that the mixer doesn't walk off the counter!) a giggly dough will form and it will continue to strengthen and take more shape through bulk fermentation. Transfer dough to a large ceramic or glass bowl, cover and set in a warm place.
Bulk Fermentation
-
Allow about 3 hours for bulk fermentation, but a little more time isn't going to hurt things, so go ahead and do your thing, the bread will be fine. Try to give it at least 3 "stretch and folds" in the bowl at 30 minute intervals at 30/60/90 minutes. You're building the gluten with the "stretch and folds" so you'll get better results if you do it, but if your schedule doesn't allow perfect compliance, it's ok, don't worry about it, just do the best you can. (For my "stretch and folds" sometimes I take the dough out of the bowl and work on the counter, more of the "slap and fold" technique and other times I use a curved edge bowl scraper and work in the bowl (faster that way), scooping the dough from bottom of bowl to top around the clock positions, noon, 3, 6, and 9.
Shape, Proof, and Bake
-
Spray or lightly grease 9x4-inch pullman loaf pan. Scoop dough from the bowl onto counter and with a large bench scraper, stretch and tuck the dough into a loose oblong shape. Scoop under it and quickly transfer into the prepared pan. Wet your bench scraper and tuck the edges of the dough down and under as best you can, tightening the top surface of the loaf. Lightly grease a piece of plastic wrap and loosely cover pan. At this point you can retard overnight in the refrigerator (for extra sour flavor) and proof the next day, or just go ahead and let it rise in a warm place to the top of the pan. (For me, this usually takes 3–4 hours, longer if you are bringing it back to life after time in the refrigerator.)
Perhaps because I'm in a cold climate, I get enough flavor from letting the proof happen for a few hours during the day, no need to retard the fermentation. If you're in a warmer climate or it is summer, some rest time in the refrigerator might produce better tasting results.
-
When dough has risen almost to the top of the pan, preheat oven to 475°F with rack set one level below middle, to give crust room to rise without touching the top of the oven. Bake for 20 minutes then lower heat to 425° and continue to bake an additional 20–22 minutes. Remove from oven and let cool for 10 minutes before transferring loaf from the pan to a cooling rack.
-
Keep bread loosely covered, ideally in a cloth bread bag or brown paper sack to preserve the crust. Enjoy for days and days then make croutons with whatever might be left.


