Would you like to bake sourdough bread at home? It’s easier than you think. I’ve had lessons with sourdough aficionados but as I attempted to produce a “Tartine loaf” at home—pushing temps above 500°, preheating for an hour, trying to create steam with ice cubes and perforated trays, attempting to transfer loose loaves into deep, HOT pots without getting burned—baking lost its fun. And then it hit me, here was an opportunity to simplify things.
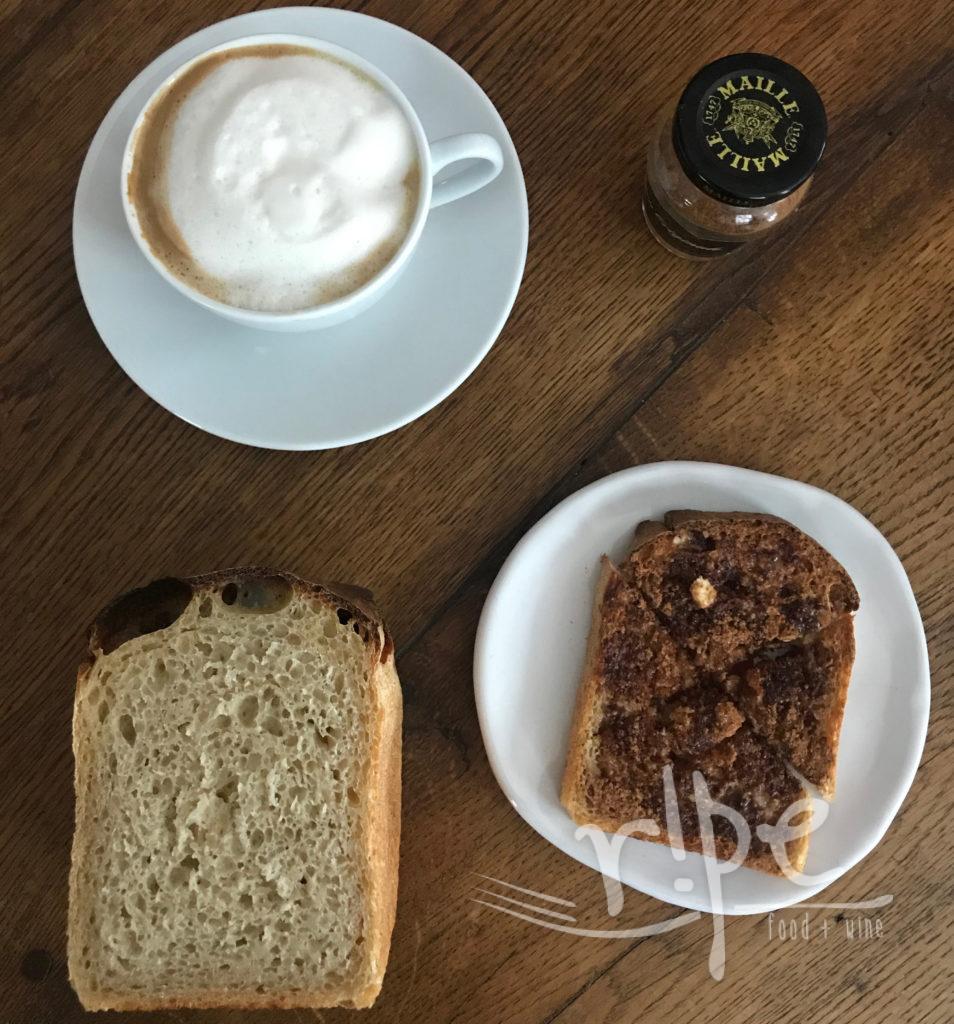
So, rather than expecting a Tartine (or Blackbird, or Wild Crumb) rustic round with dark crust from my home oven, I set off to make a pan loaf that would make really great cinnamon toast.
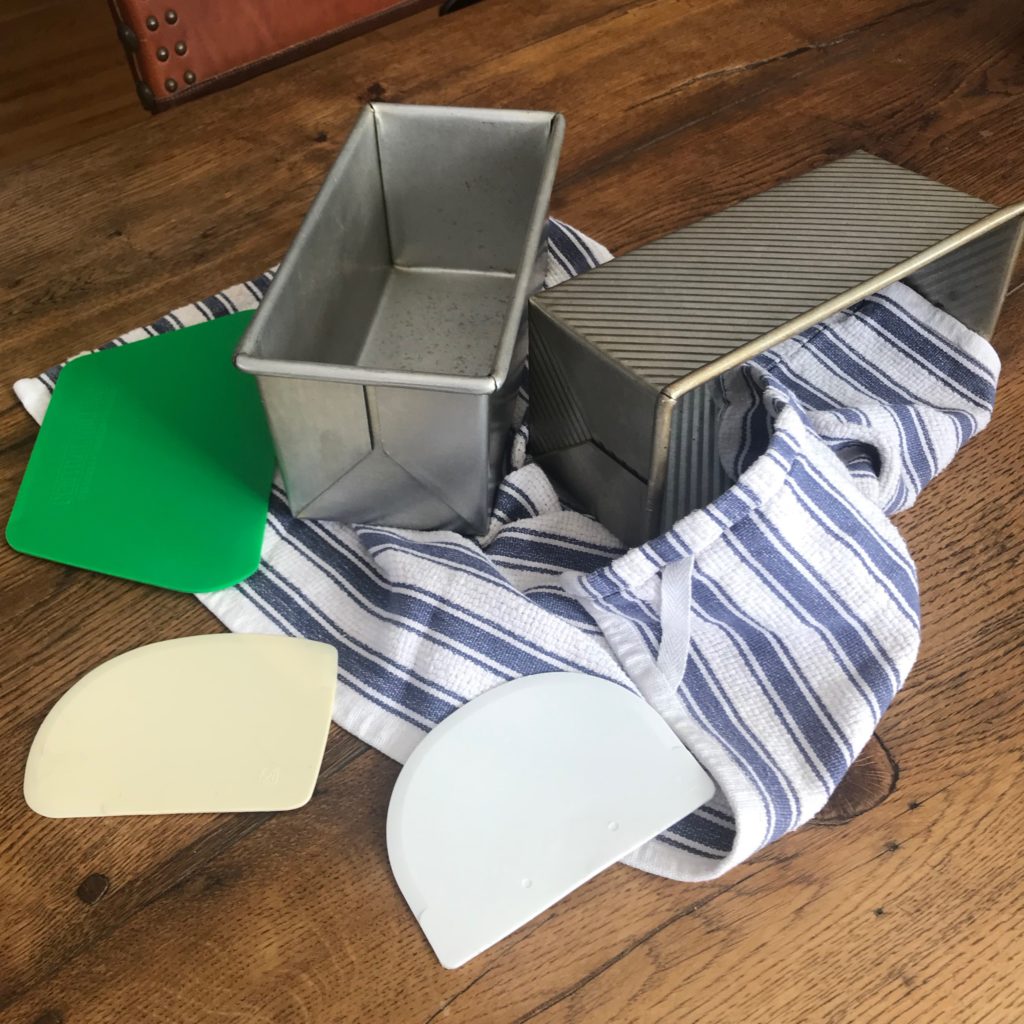
I love the straight sided shape of a pullman pan, so that’s what you see here. I like the ones from USA Pan and Sur La Table, 9″x4″. Once you’ve got your dream pan, it’s time to get get to work on your starter. Build one yourself from flour and water and about a week of tending, or get a bit from a friend who’s got one going. Sourdough starters are serious IP, so best to put the work in yourself and reap the rewards.
When I have questions about sourdough, I turn to Maurizio, a guy who seems to have all the answers (and seemingly endless patience to figure things out)—check out his blog, The Perfect Loaf. His instructions for making a starter helped me rehabilitate mine when I thought I had killed it. Now I follow his feeding instructions and have learned how to participate in and trust the process. That is one of the most satisfying parts of baking sourdough at home, learning to create something delicious from flour and water.
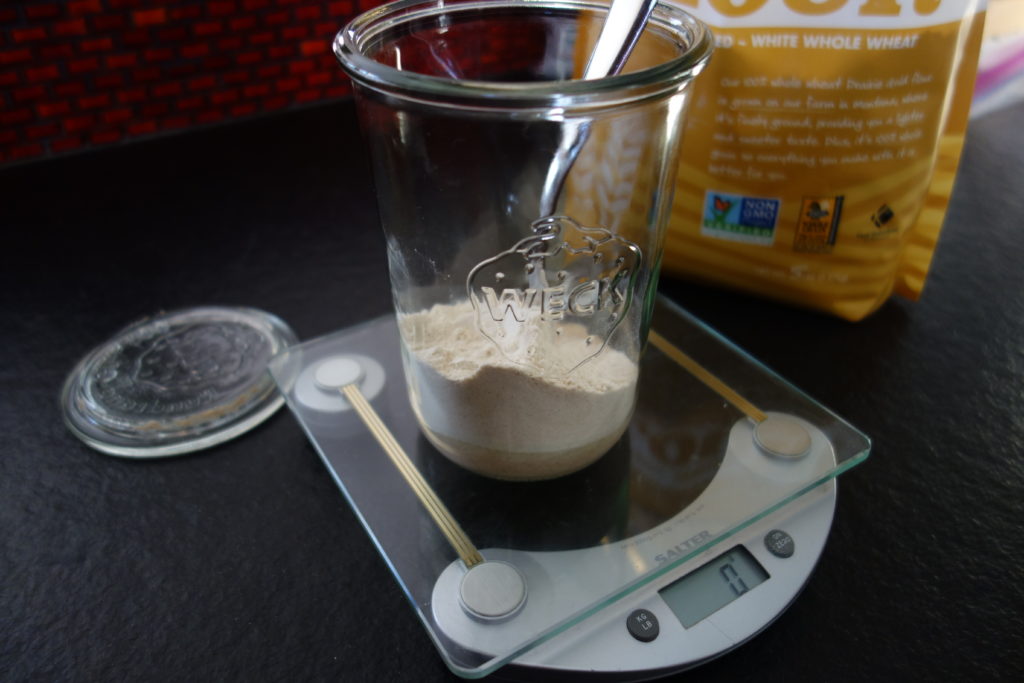
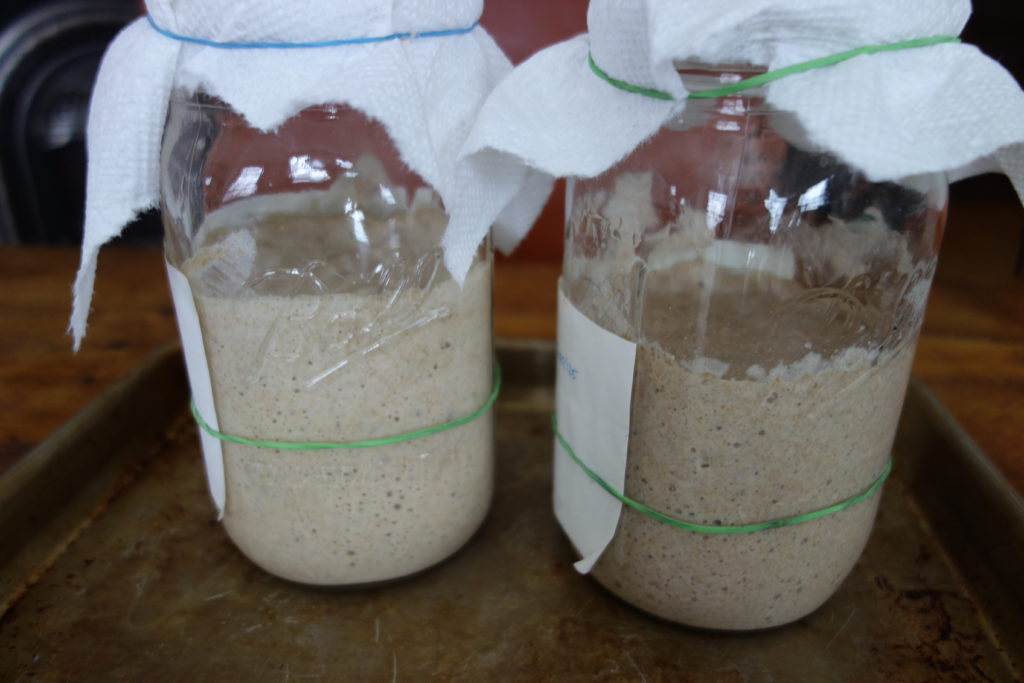
So, order your cute Weck jars (#743 3/4 liter) and get to work on your starter. I recommend keeping an identical empty jar around to make the measuring process during feeding as easy as possible. Put the empty jar on the scale, tare it to zero, then put your active jar with starter on the scale and you know how much starter is in there (minus the jar weight). From here you can discard what you must to keep 75g (the amount I retain and then feed 50g wheat + 50g rye + 125g water). Tare scale again between adding different flours and the water and you know you’ve got the right amounts of everything.
After the pan and the starter, I suggest having a couple plastic dough scrapers on hand, a small one to do folds in the bowl (and to help clean up) and a large one (green one in photo from Central Milling) to help you shape the loaf and move it into the pan.
I adapted the following recipe from Maurizio’s Whole Wheat Sourdough Sandwich Bread, substituting mostly Wheat Montana all-purpose flour to get a white loaf, but the recipe works great if you want to swap the AP for whole wheat. I’ve tried several variations with Wheat Montana’s white whole wheat (“Prairie Gold”) and whole wheat (“Bronze Chief”) and have included the amounts that have worked for me in the recipe notes.
Before I sign off, I’d like to say a few words about maintaining your starter. I’m not going to lie, sometimes feeding my starter is the last thing I want to do before heading to bed. But this only happens when I’m getting the starter strong enough to bake or baking every few days. There’s no need to feed your starter daily if you set it in the refrigerator for a little rest. Your starter will be just fine for up to a week (or even two if you must) without any tending. When you want to bake, take the starter out of the refrigerator and feed it 2x/day for a day or two to get it revved up.
Sourdough Bread for Toast
Recipe adapted from ‘Whole Wheat Sandwich Bread’ by Maurizio at The Perfect Loaf
Ingredients
- 500 grams all-purpose wheat flour (AP) Wheat Montana or other quality flour
- 55 grams white whole wheat flour Wheat Montana “Prairie Gold”
- 3 grams barley malt powder
- 440 – 455 grams water
Dough ingredients:
- 73 grams liquid levain/fed starter
- 14 grams kosher salt or sea salt
Instructions
Dough Autolyse (2 hours)
-
Mix together the flours, barley malt, and 440 grams water (this might be sufficient and will keep your dough from being too wet; only add up to the remaining 15 grams if necessary). Cover the bowl with plastic wrap or a clean kitchen towel and let sit in a warm place for two hours. (I set my bowl on top of my radiator here in Montana).
Bulk Fermentation (4 hours with folds ideally every 30 minutes)
-
To the “Dough Autolyse” add the levain and salt and mix together. (Sometimes I use the dough hook on my mixer, sometimes I fold it in by hand using a small bench scraper. I’ve found that the hand mixing makes for a more tender and open crumb in the final bread.) Cover the bowl and set in a warm place for 4 hours. Every 30 minutes do a series of folds to the dough with your small bench scraper—I scoop to bottom and fold it to the middle every 90° around the dough in the bowl, going around a couple times. Unthink everything you’ve ever learned about “kneading bread dough”. With sourdough, these gentle folds are sufficient (and far superior) for developing the gluten structure. At the last fold, turn the dough out onto a clean work-surface and shape into a round using quick tucks with your bench scraper, dough will be jiggly and somewhat loose, just do your best. Let sit 20 minutes.
-
Spray a 9″x4″ pullman-style or other loaf pan with non-stick spray or rub inside with a little olive oil.
-
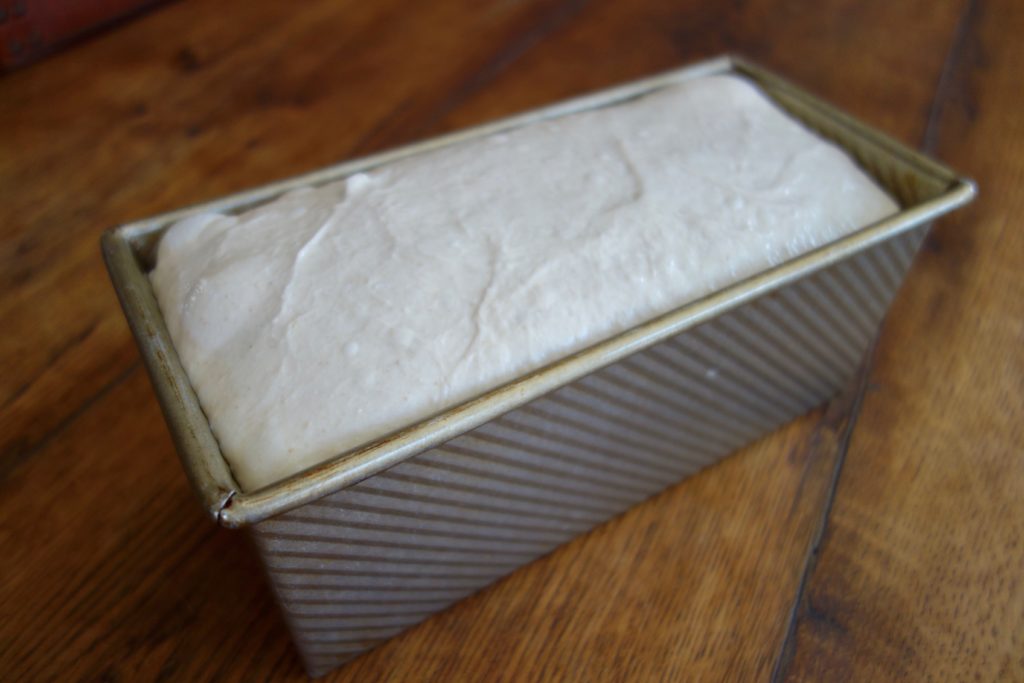
Shape your loaf with a large, straight-edge dough scraper—aim to fold each edge to center then the 90° edges to center then flip it upside down into the pan. To neaten things, tuck edges in using your bench scraper moistened with water. Cover pan with plastic wrap. At this point you can pop it in the refrigerator overnight, but I like to give it a head start by letting it proof for a couple hours at room temperature before going into the refrigerator. In the morning, take the pan out of the refrigerator and let it proof at room temperature while you preheat the oven. You want the dough to come close to the top of the pan.
-
Preheat oven to 450°F with rack set in bottom third. Bake bread for 20 minutes, lower temp to 425°F and continue baking for an additional 25 – 30 minutes until golden brown and internal temperature hitting 200°F. Let cool in pan a few minutes, then transfer from the pan to a rack. Try not to cut into it for at least a couple hours, the longer you wait the better for the bread as it is still setting inside.
Recipe Notes / Tips
- Whole wheat bread: 330 g white whole wheat + 150 grams whole wheat + 75 grams all-purpose (using Wheat Montana flours)
- What’s barley malt? Barley malt is a “diastatic malt” which has enzymes that help fermentation and “dough conditioning”. It also helps with color and adds a little flavor. If you don’t have it, don’t worry about it and proceed without. (For the record, there are “non-diastatic malt” powders out there that have no enzymes and only help with color and add a little flavor.)
- I use tap water from my Britta filter and have been fine. I used to buy spring water for baking bread, but after taking a class with Craig Ponsford at the Artisan Baking Center out in Petaluma I set myself free from this unnecessary constraint. (I remember him saying something like “When bread isn’t working, everyone always thinks it’s their water, but it’s not the water, it’s probably their starter (not being strong enough).”)