When my brother lived in Seattle, I frequented Café Besalu on every trip. Many of their scrumptious specialties are worth airfare from just about anywhere, but alas, when Greg moved to Bend, I was forced to try to knock off my favorites. The two most critical elements to success with this cookie are 1) great tasting shortbread and 2) some simple instructions to get the checkerboard design.
My first attempt was a verbatim run at an old Food & Wine icebox cookie recipe (texture: not what I was hoping for, taste: my 5 year old wouldn’t eat it (…enough said)). I knew I wanted a firm textured, buttery shortbread, so I returned to a classic sable recipe I learned in France. Bingo. Those French know their bakery products.
Checkerboard Shortbread Cookies
makes 30 cookies
Ingredients
- 1 cup unsalted butter softened to room temperature
- 1 cup powdered sugar
- ½ tsp Kosher salt
- ½ tsp vanilla extract
- 1½ cups unbleached, all-purpose wheat flour
- ½ cup cornstarch
- ¼ cup unsweetened cocoa powder, reserved for half the dough Valrhona
Instructions
-
Cream butter and powdered sugar in the workbowl of an electric mixer with the paddle attachment. Add salt and vanilla and mix.
-
In a separate bowl, whisk flour and cornstarch. Add flour mixture to creamed butter and sugar and mix to combine. Remove approximately half of the dough to a separate bowl then add the cocoa powder to the dough remaining in the mixer, and mix to combine.
-
Get out a piece of plastic wrap and place in on a cool work surface (marble or granite cutting board or counter is ideal). Divide each dough in half so you have 2 lumps of cocoa dough and 2 lumps of plain dough. Pat each lump of dough into a long rectangle about 2-inches wide (aim for 9 or 10-inches long). Stack them, alternating cocoa, plain, cocoa, plain, and wrap in plastic. Make the log as clean-edged and squared off as possible by using a flat edged ruler to press the log against the work surface on all sides. Chill the dough at least 1 hour in the refrigerator.
-
Remove dough log from refrigerator and slice lengthwise into 4 long strips. Allow the dough to soften a few minutes so that it will want to stick together for the next step: Turn the strip-slabs on their sides and stack them, alternating the edge colors (cocoa, plain, cocoa, plain) so you have a checkerboard pattern when you look at the end of the log. Re-wrap the dough log in the plastic and press together to get all the slabs to stick together then do as before and press and turn the log to keep clean edges and sharp corners. Chill the dough again for at least 15 minutes before slicing and baking the cookies.
-
Preheat oven to 350° F. Line sheet pan with parchment or use a Silpat liner. Slice dough log into cookies about ¼-inch thick. Space apart of the prepared sheet pan and bake for 22 minutes until light dough is just beginning to turn golden.
Recipe Notes / Tips
- Dough logs like these keep great in the refrigerator for 3 – 5 days, and in the freezer for a few months.
- Variations: Spice up the flavor in the cocoa dough with a little ground cayenne, black pepper or espresso.
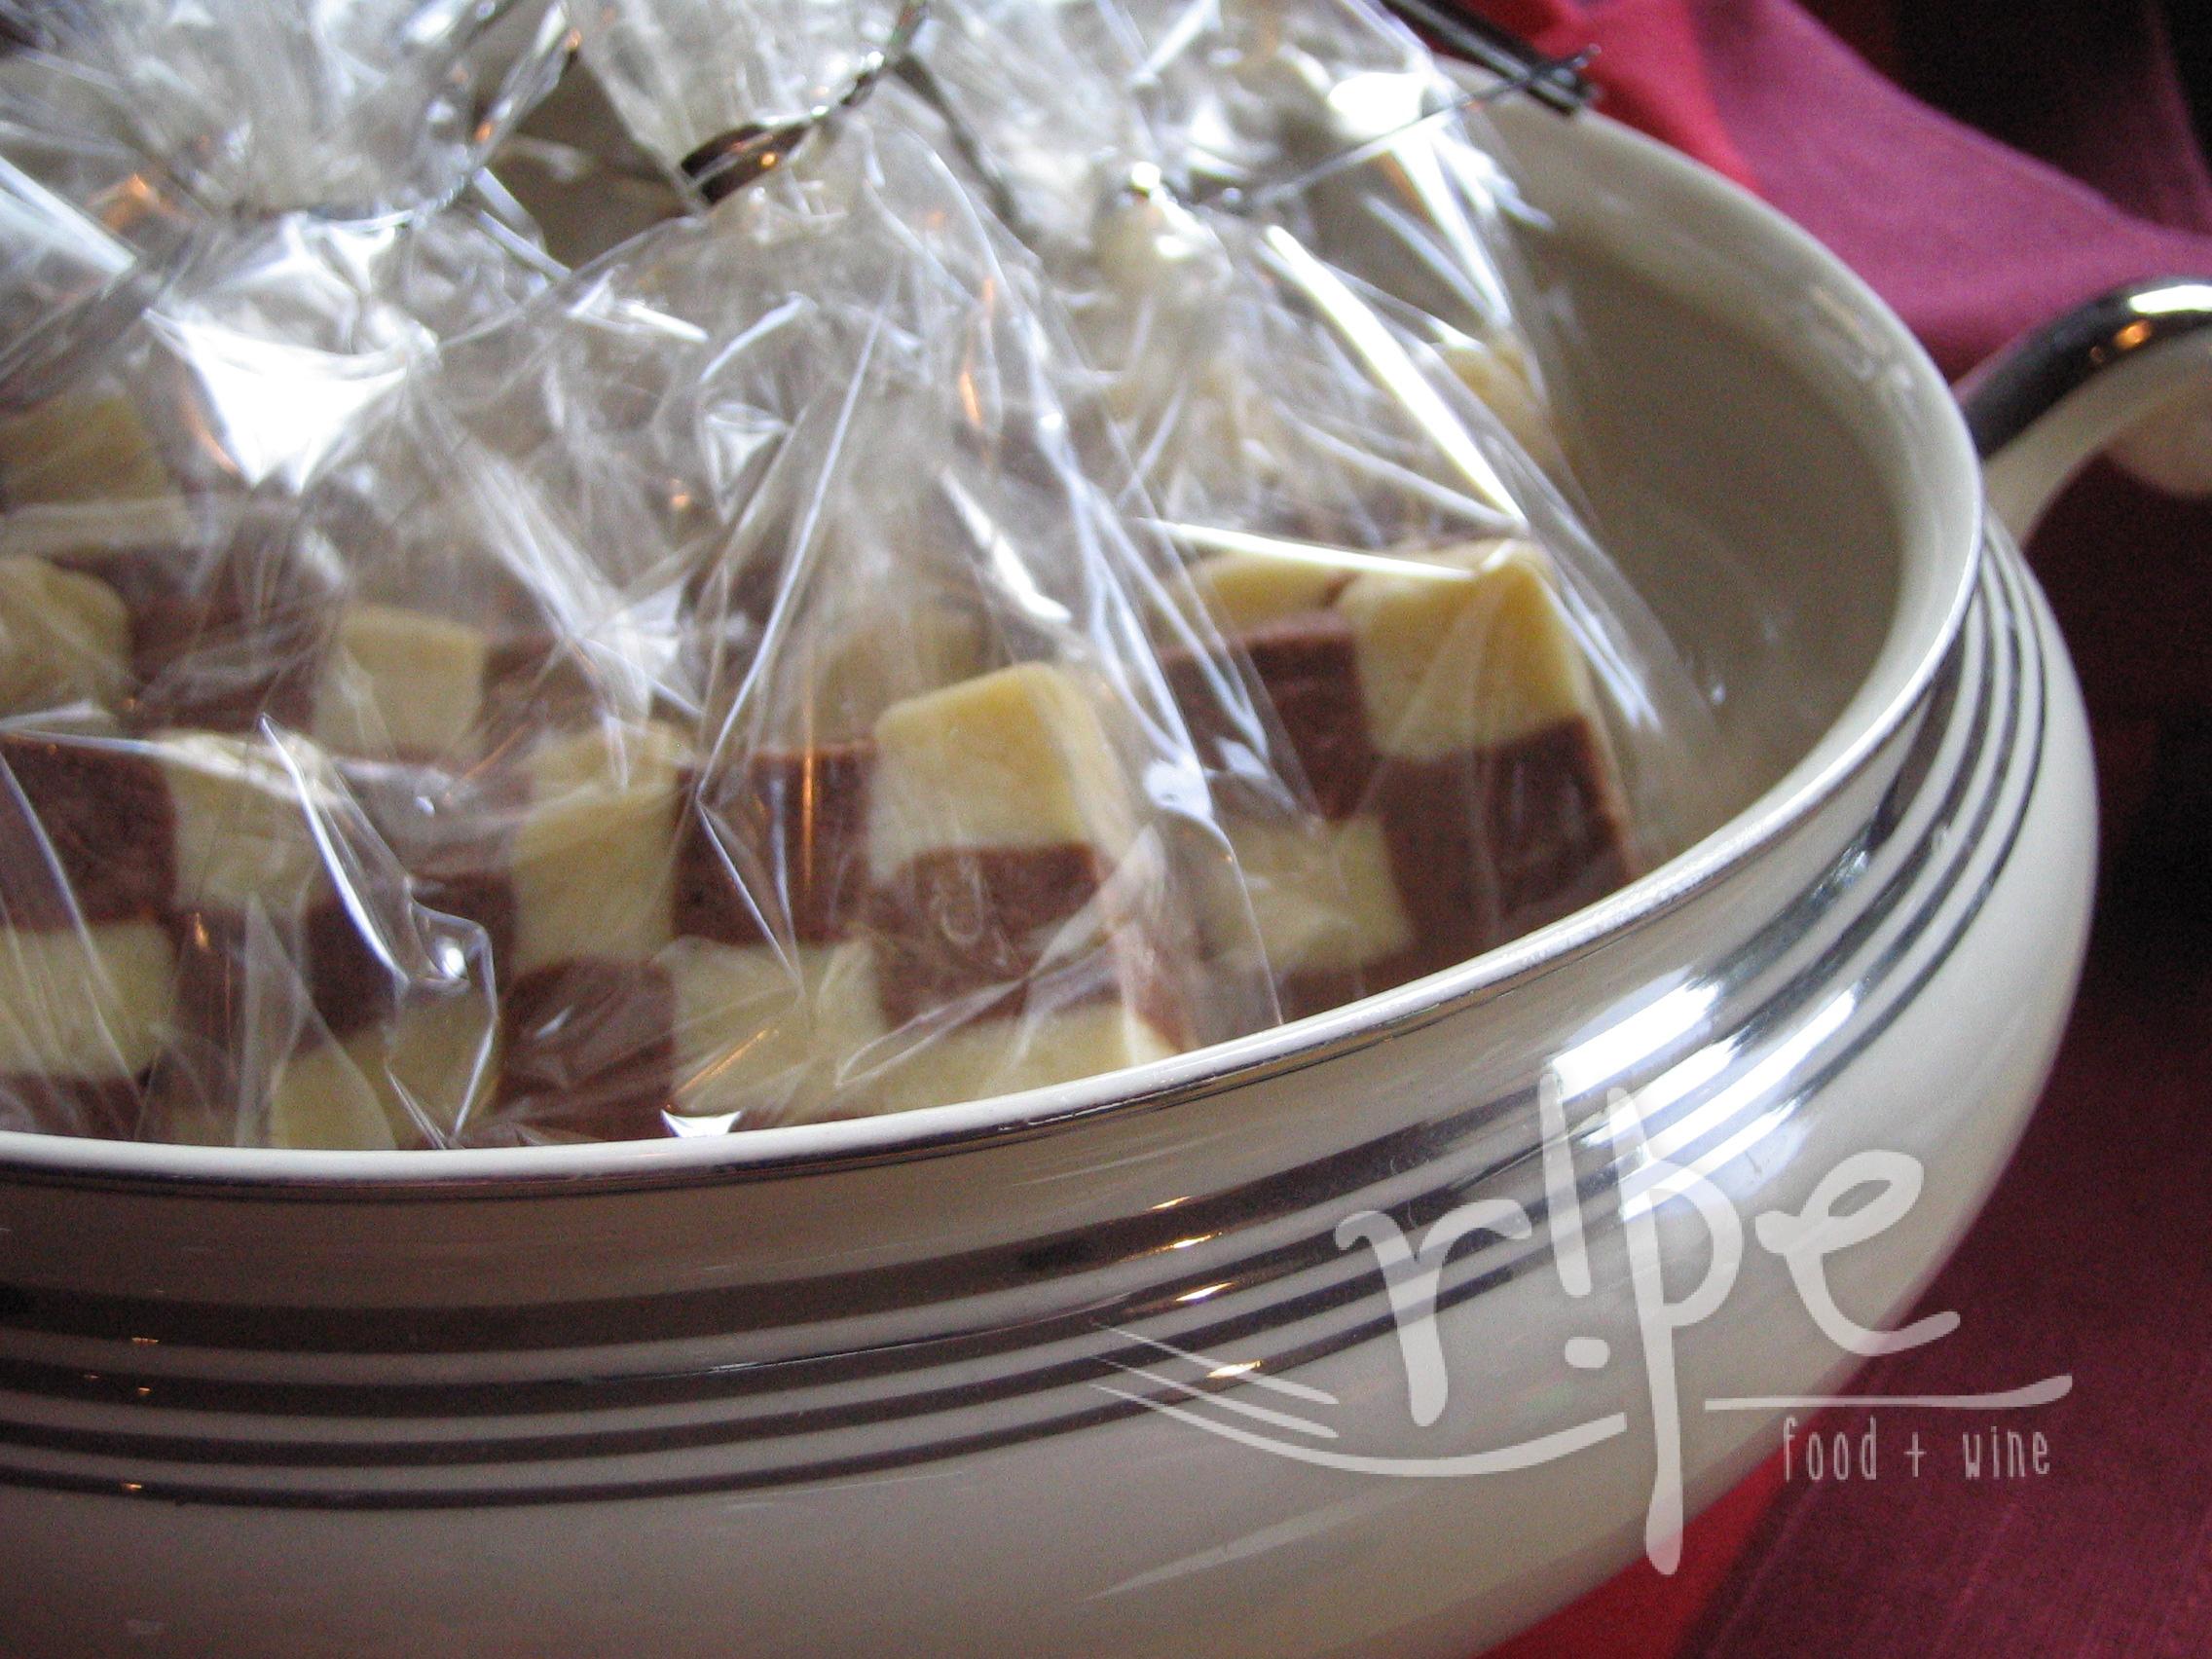
- These cookies make great gifts. I like to wrap snack-sized portions for surprising friends with a little something.